jQuery Flyout
Setup and Styling Examples
Getting Started with jQuery Flyout
Download the Libraries
Download jQuery version 3.3.1, 2.2.4, 1.12.4 or use the GoogleAPI links
Download the jQuery Easing library version 1.4.1
Download latest jQuery Flyout release
Example 1: fullSizeImage with full Opacity animation
Here's some default CSS, jQuery Javascript and starter HTML:
.gallery {
	position:relative;
	border:1px solid #333;
	background-color:#336699;
	margin-top:20px;
}

.gallery a { text-decoration: none; }

.gallery img {
	position:relative;
	margin:20px;
	border:1px solid #FC0;
}

#loader {
	border:10px solid #FC0;
	-webkit-border-radius: 10px;
	-khtml-border-radius: 10px;
	-moz-border-radius: 10px;
	border-radius: 10px;
}
and the jQuery Javascript to activate the code
$('div#gallery-1 a').flyout({
	inOpacity:0
	fullSizeImage:true,
	inSpeed:1000
});
</script>
and finally the div that wraps the image linked thumbnails; you will need to insert your own links and thumbnail images.
<div id="div#gallery-1" class="gallery">
<a href="image1.jpg"><img src="image1_thumb.jpg"/></a>
<a href="image2.jpg"><img src="image2_thumb.jpg"/></a>
<a href="image3.jpg"><img src="image3_thumb.jpg"/></a>
</div>
Gallery #1
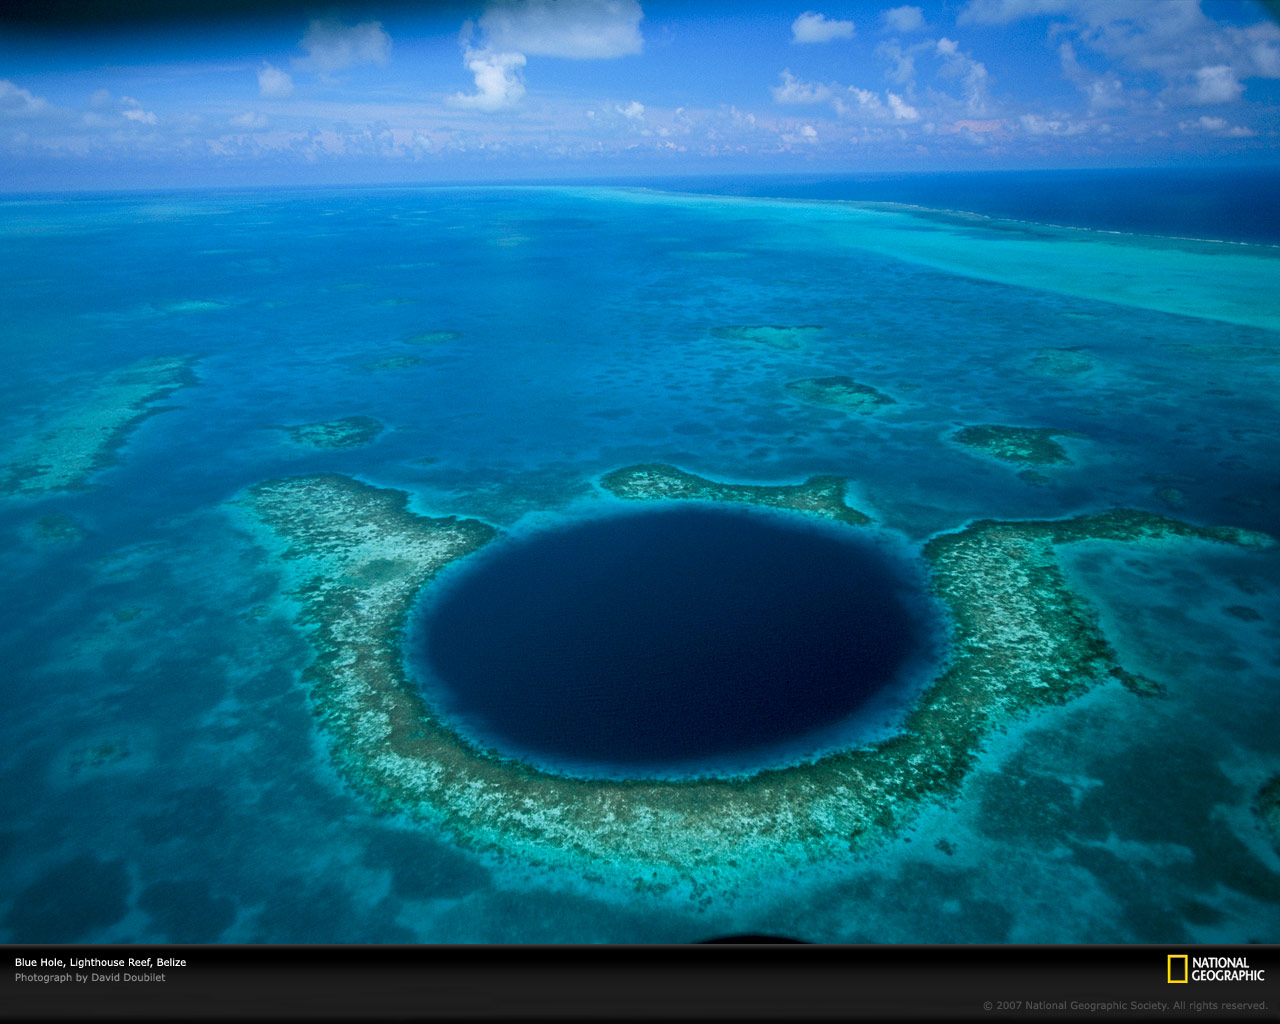
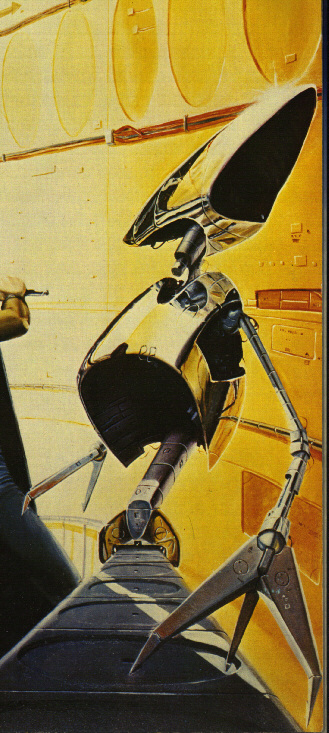
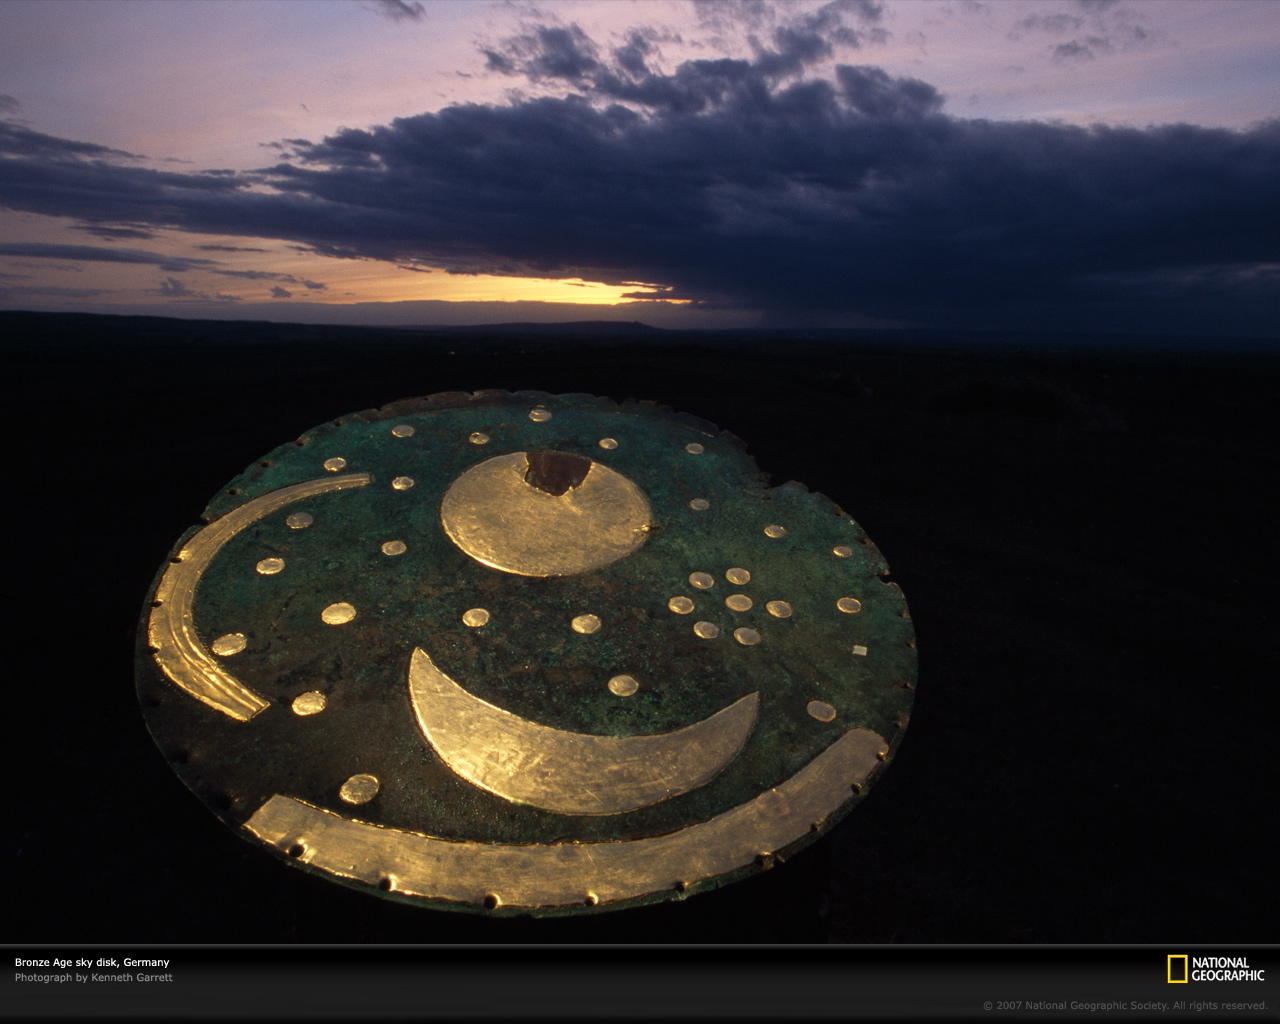



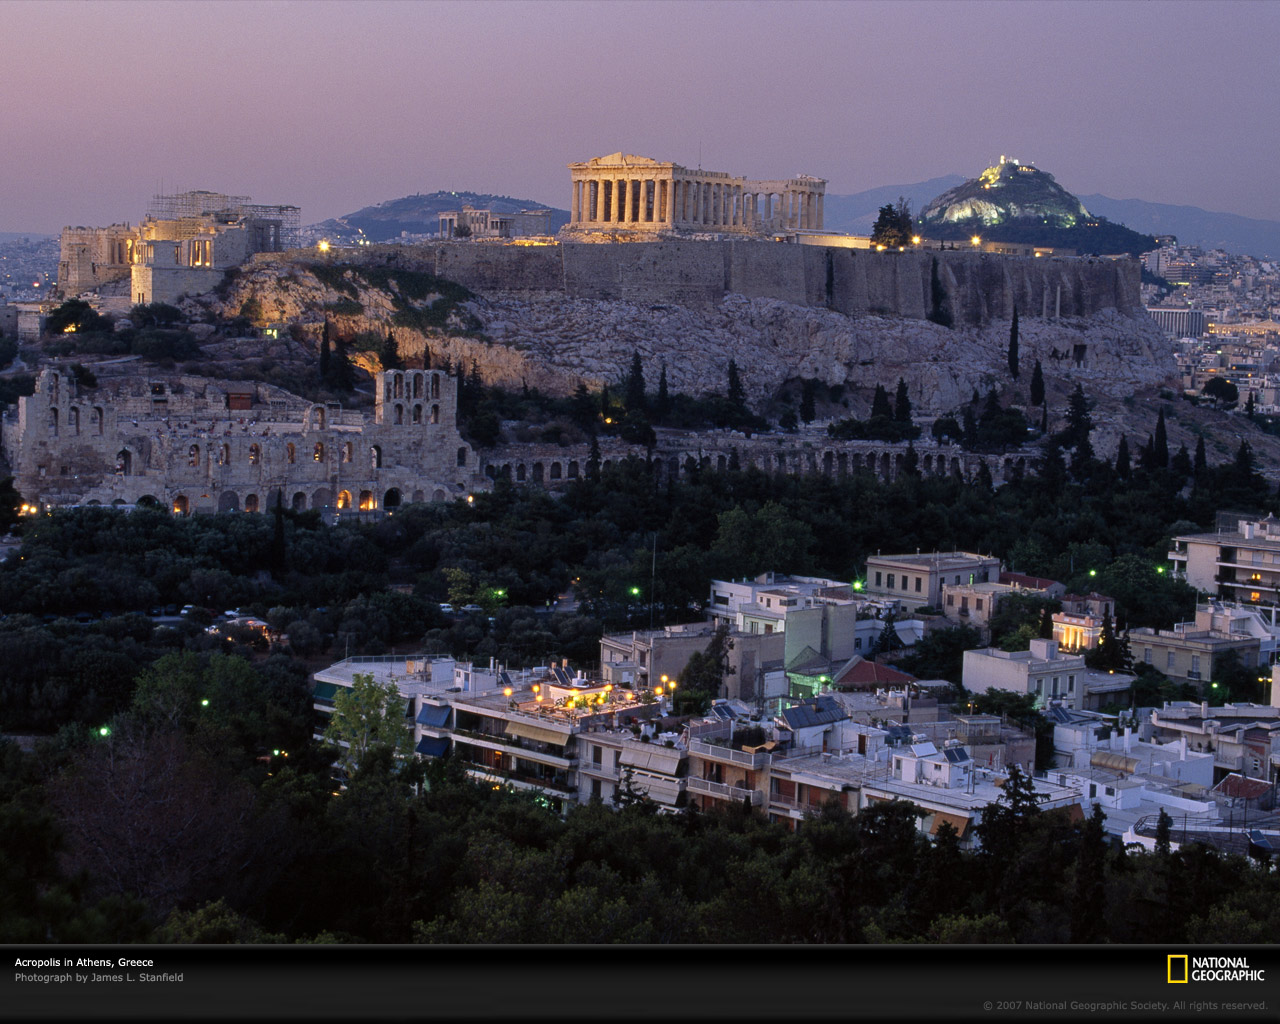
Gallery #1 Example Explained:
- Since the default setting does not specify a loading image (
loadingSrc), the CSS opacity of the default loader element (#loader) is set to 0.5 (50% opacity) which has a background color of #000 (black) and 'Loading...' text is added as a default notification that the image is loading up. - Notice what happens if you click another thumbnail before closing the open image: the previous image closes before the new one is opened.
- Try resizing the screen between clicks and notice what happens with new flyout size and placement.
- Fullsize Images that are out of the bounds of the document do not resize the document vertically; this is a browser limitation. Make sure your image gallery is in a good place on the page to scroll vertically to view a fullsize image.
Example 2: Easing, Loading Animation Example and Partial Opacity
For this example we have some additional CSS to add to the last example:
#loader2 {
	border:5px solid #FFF5D7;
	-webkit-border-radius: 6px;
	-khtml-border-radius: 6px;
	-moz-border-radius: 6px;
	border-radius: 6px;
}
as well as different setup Javascript:
$('div#gallery-2 a').flyout({
	loadingSrc:'images/loading.gif',
	outEase:'easeInCirc',
	inEase:'easeOutBounce',
	loader:'loader2',
	inSpeed:1000, loaderOpacity:0.3,
	inOpacity:0.3, outOpacity:0.9});
Gallery #2
Gallery #2 Example Explained:
- Notice what happens if you scroll the thumbnail window, before closing the open image: the image returns to the current location of the thumbnail, even if it is scrolled out of view; a good reason to use Opacity settings.
- loaderOpacity is overridden to match inOpacity of 0.3 so animation appears smoother.
- outOpacity is set to 0.9, so the final image is stil semi-transparent.
- Loading animations are courtesy of AjaxLoad.info.
- The easing plugin and demos can be found here.
Example 3: External event Fly Back & Custom Margins
Slightly different CSS:
#loader3 {
	background-color:#FFF; border:9px double #909; /* this will wrap around the flyout image */
	-webkit-border-radius: 8px;
	-khtml-border-radius: 8px;
	-moz-border-radius: 8px;
	border-radius: 8px;
	padding:6px; /* this will buffer the loader border from the flyout image */
}

div#gallery-3 img {
	position:relative;
	margin:30px; /* this only affects the thumbnail display */
	padding:20px; /* this only affects the thumbnail display */
	border:3px solid #CF0; /* this only affects the thumbnail display */
	-webkit-border-radius: 5px;
	-khtml-border-radius: 5px;
	-moz-border-radius: 5px;
	border-radius: 5px;
}
And some new Javascript
$('#gallery-3 a').flyout({
	loadingSrc:'images/loading2.gif',
	outEase:'easeOutQuad',
	inEase:'easeInBack',
	loader:'loader3',
	widthMargin:300,
	heightMargin:300});
Gallery #3
Flyback link code:
<a href="#" onclick="$('div#gallery-3 a.shown').click(); return false;">Fly Back</a>Gallery #3 Example Explained:
- different custom loader: as in the Example 2, if a loader element ID is provided, its CSS rules are used to the loader element created when the Flyout plugin is applied.
- larger margins: limits the full extended size of the flyout image, even if the source image is larger. Margins are split between left and right or top and bottom, e.g. a 50px heightMargin translates to 25px top and 25px bottom.
- loader positioning: adjustments are made internally compensate for additional border and padding size of both the
loaderand the link-wrapped thumbnailimgelements. Flyout will always attempt to wrap the loader element border directly around the image, minus image margin, padding and borders. Padding of the loader element is respected. - custom flyback link: see code above; using jQuery we can target any currently 'shown' images and activate the
click()event which causes the image to return to its thumbnail link.
Example 4: Flyout Gallery Viewer
This is an advanced mashup example, demonstrating the destElement and callback options and features:
- a modified version of Ben Sterling's jqAlbumParser plugin to grab public, online picture galleries via RSS feed - both Google Picasa and Yahoo Flickr supported and demonstrated
- custom graphics and cross-browser tested CSS
- jQuery UI animations for gallery pic title display, and long descriptions in Flickr
Click here to see the jQuery Flyout Photo Album Examples
Special Thanks:
special thanks to National Geographic Photography, Fred Gambino, Chris Foss and Chris Moore
jQuery Flyout Tips
- jQuery Flyout only works with image links: Preferably links containing thumbnail image tags. This is a simple plugin right now, and works best on a set of linked thumbnail images. You can somewhat override this behavior using the
startOffset,startHeightandstartWidthoptions on just links. - You can use CSS to style the loader: Using CSS and CSS3 styling you can adjust the appearance of the loader container; see example 3.
- Loader element positioning: Flyout compensates for the Loader element border and padding as well as the sub
imgtag border and padding to try and wrap the loader tightly around the thumbnail image. If you want some padding, adjust padding of the loader element; image padding, margins and borders are ignored. - Offset location can be tricky: If you are using padding or border on the parent
bodyelement, or are inside a container with globally redefined margin, padding or border set (like adivwhen divs are globally defined to have margins), the Flyout offset will be off respectively. Unfortunately there is no easy way for Flyout to figure this out for all browsers, so if you are powerless to fix the CSS of your page, you can use thestartOffsetXandstartOffsetYto compensate.
Where do I get it? Download jQuery Flyout plugin here
Retired photo-album mashup
The former fourth example depended on discontinued RSS services, remote accounts, jQuery UI, and PHP-era infrastructure. The original source remains in the owner's private archive; it is intentionally not simulated or published here.